Cogniti leverages Microsoft’s AI Content Safety filters to keep AI inputs and outputs safe. These can be configured for Azure OpenAI deployments as well as for other models.
- Azure OpenAI deployments have their own pre-defined content safety filters which are configured per deployment. Cogniti allows you to select alternative content safety filters that have also been configured – these are called policies. This is described in another doc.
- Other models usually do not have pre-defined content safety filters when they are deployed. Instead, Cogniti can leverage the AI content safety service endpoint to filter AI input and output for safety by allowing administrators to create custom filters. This is described in this doc below.
Determining your service endpoint #
In Azure Foundry, look for the Models and endpoints tab, or something similar that shows your model deployments.
In that tab, you should see model deployments, as well as Service endpoints.
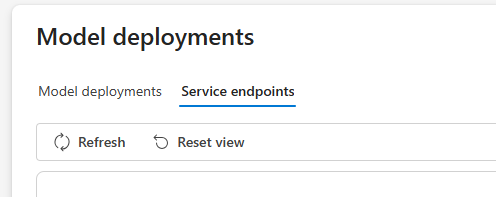
Select Azure AI Content Safety from the list of service endpoints.
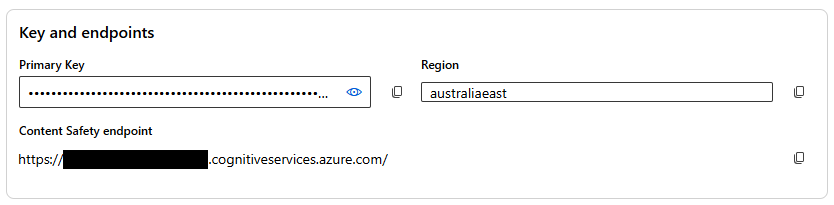
Make a note of the Content Safety Endpoint and the Primary Key. You will need to put both of these into Cogniti.
Setting up a custom AI content safety filter #
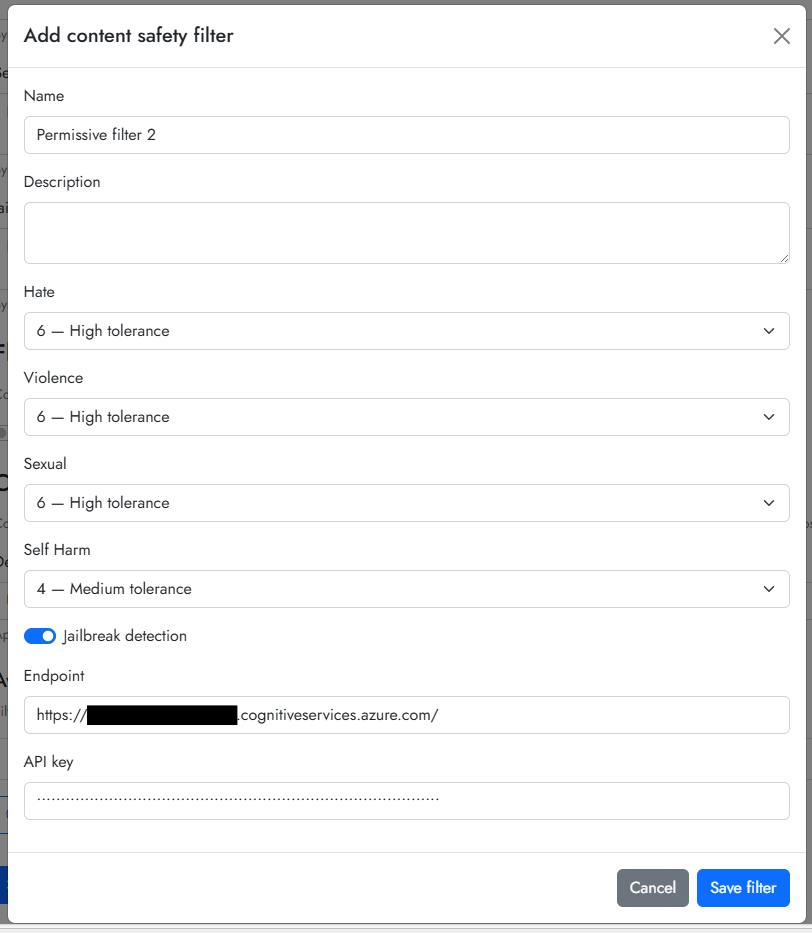
Back in Cogniti, you can specify a custom AI content safety filter at the instance (system-wide) level, or the organisation-wide level. These filters work by allowing you to specify a level of tolerance for different aspects of AI safety including hate speech, violence, etc. These levels are defined and stored within Cogniti, and Cogniti passes AI input and output through Azure’s filters that determine the actual level; if the actual levels are higher than the specified level of tolerance, the content is blocked.
Setting up a system-wide filter #
You need to be a superuser to do this.
Navigate to the administrator controls.

Select the AI safety tab. Find the section on Content safety filters. Click Add content safety filter.
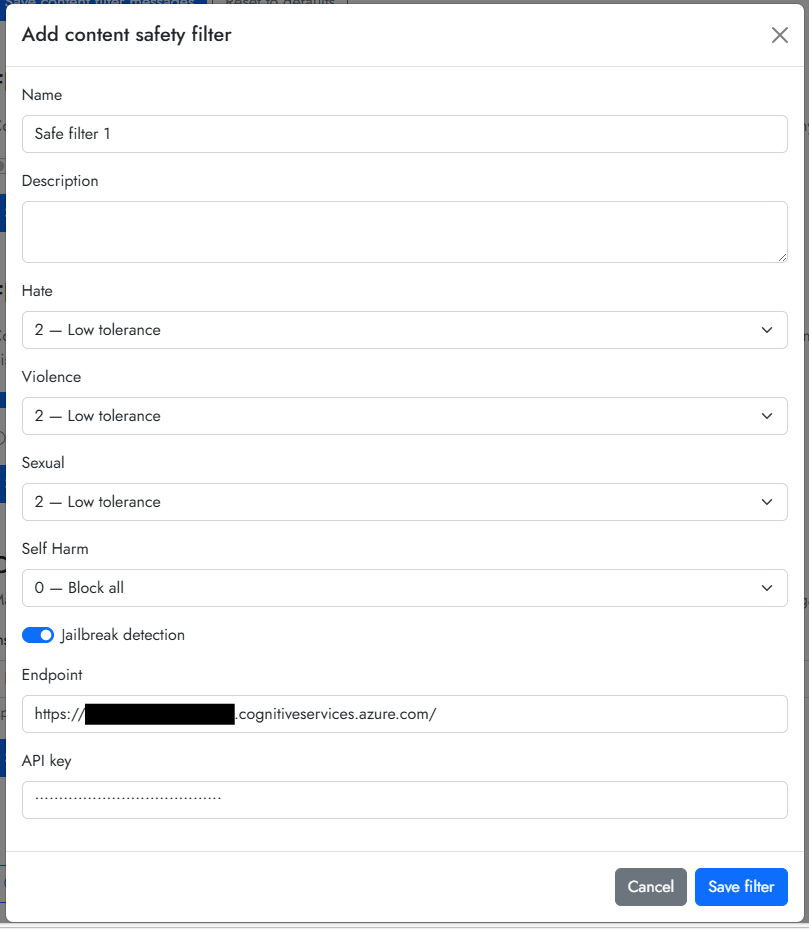
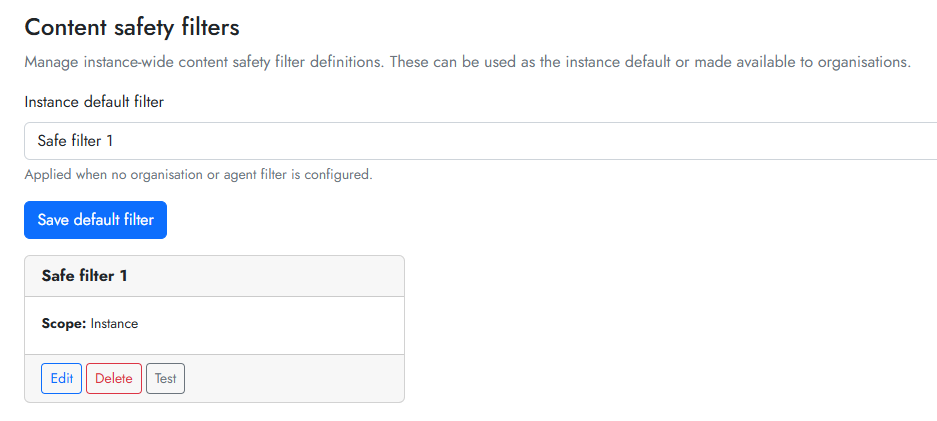
Click Save filter. The filter will appear in the list of available filters and be marked as Instance which means system-wide. It’s a good idea to click Test to see if the filter service endpoint is contactable.
It is also a good idea to set the Instance default filter. This is the filter that will be used for AI models that don’t have a pre-defined safety filter when deployed in Azure.
Setting up an organisation-wide filter #
You need to be at least an organisation administrator to do this.
Navigate to your organisation edit screen. Select the AI safety tab. Find the section on Content safety filters. Click Create organisation filter.
Click Save filter. The filter will appear in the list of available filters and be marked as Organisation which means organisation-wide. It’s a good idea to click Test to see if the filter service endpoint is contactable.
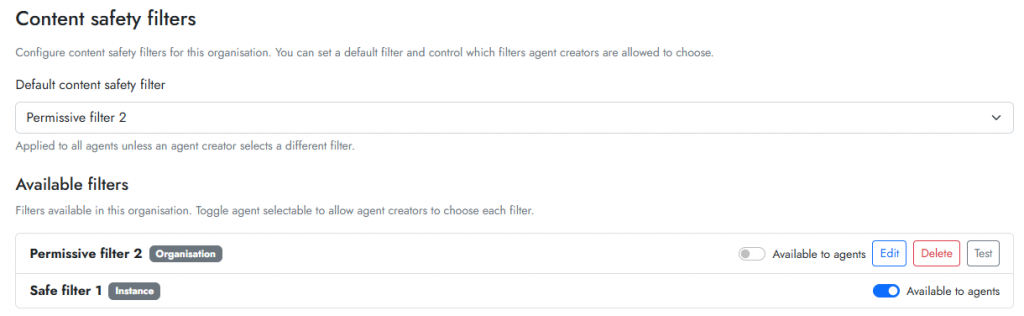
It is also a good idea to set the Default content safety filter for the organisation. This is the filter that will be used for AI models that don’t have a pre-defined safety filter when deployed in Azure.
Remember to click Save organisation.
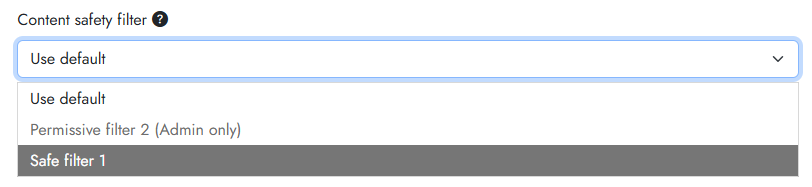
To allow agent creators to select particular filters, toggle on the Available to agents switch. If this switch is off, then only administrators will be able to select those filters. For example, a non-privileged agent creator might see this: