If this has been configured and enabled for your organisation, you can enable Attachments in your agents.
Enabling document uploads #
In the Attachments tab, toggle to Enable attachment uploads.

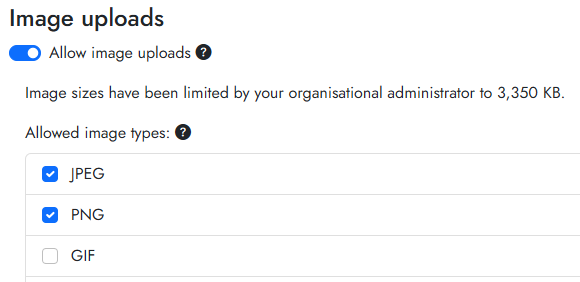
If organisation-wide limits have been put in place by an administrator, these will appear. For example:

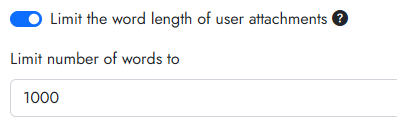
You can specify a word limit for uploaded attachments. The organisational limit takes precedence over your agent’s own setting. It may be useful to limit the word count of uploaded attachments to discourage students from uploading very long documents without much thought.
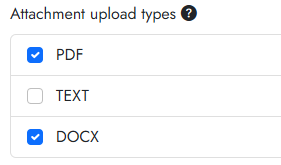
You also need to determine which file types students can upload. The range of file types is determined by your organisation’s administrator.
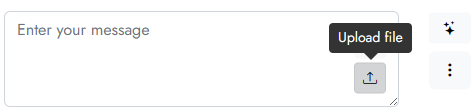
After saving, the agent’s conversation interface will have a new attachment upload button:
Enabling image uploads #
To enable image uploads, you need to first enable attachment uploads (see above).
Then in the Attachments tab, toggle to Allow image uploads.
You need to determine which image types students can upload. The range of image types is determined by your organisation’s administrator. They also set the maximum image file size allowed.