If your administrator has given you sufficient quota, you can create an interactive mini app.
Click the Interactive mini apps button in the left menu.

Getting started #
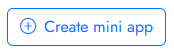
Then click the Create mini app button in the top right.
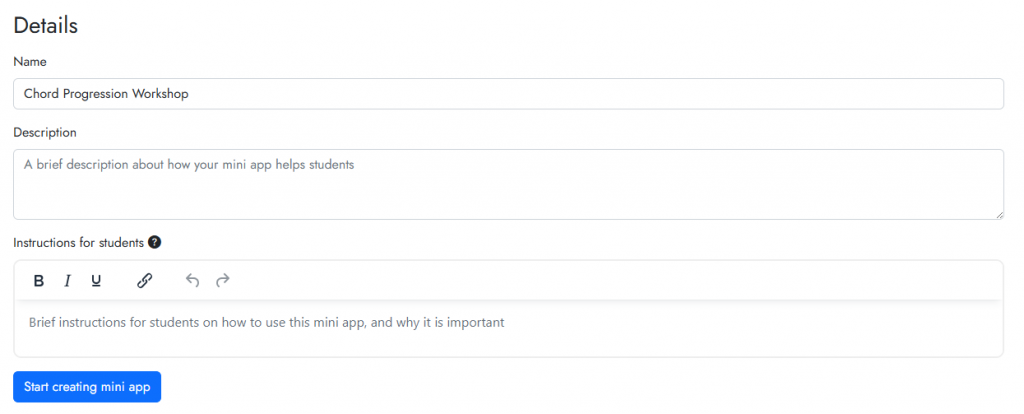
You will first need to give your mini app a name. You can change this later. Then, click Start creating mini app.
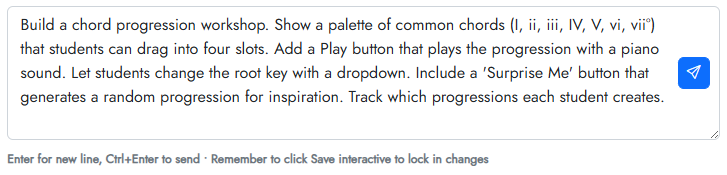
The page will refresh, and you will be taken to the Build with AI tab. You can start to type in some instructions for the AI assistant into the chat box.
Press the send button or Ctrl+Enter on your keyboard to send messages to the AI. If the AI needs clarifications, it will ask. If it continues to ask too many questions, you can usually tell it to start building or fixing a mini app by saying “build”.
You can click the Tips button for some examples of things you can ask the AI.

Each build will take 1-3 minutes, depending on the complexity of the Interactive. You need to keep the browser tab open.
Once your mini app is built #
Once your interactive mini app is built, you will see it in the Preview panel. For example:
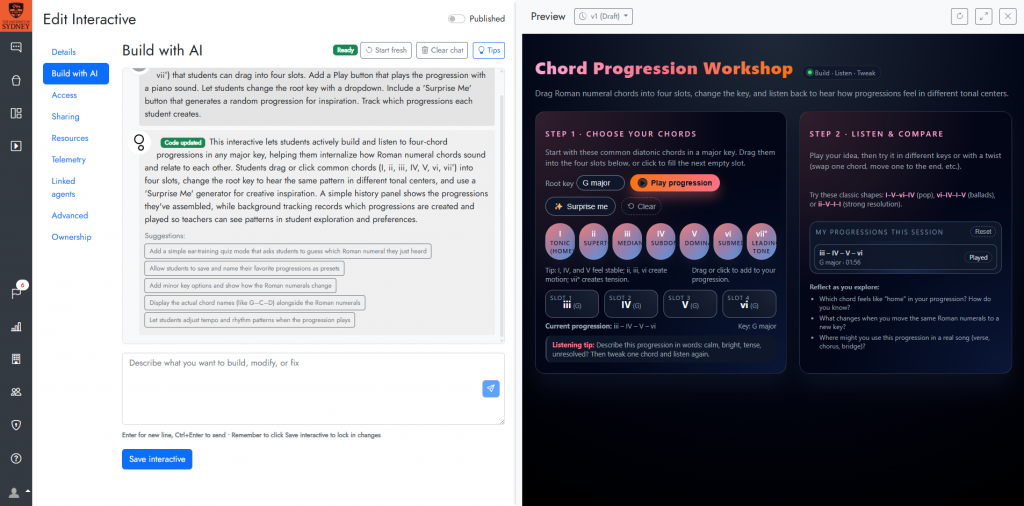
At this point, you can interact with your mini app. If you need changes made to it, just chat with the AI. Try to be specific about any changes you need it to make. The AI builder will also provide some suggestions for things it could help you with.
If the mini app is terrible, click the Start fresh button to clear everything and start from scratch.
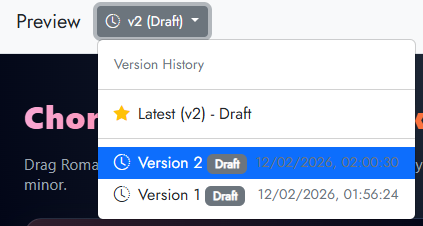
All versions of the mini app are saved, in case you need to go back to an older iteration. Use the version dropdown in the preview panel to navigate between different versions.
Saving and publishing your interactive mini app #
Once you are happy with your mini app, you’ll need to click Save mini app. Once you save your mini app, the selected version will become Live.

Then, to make it available to others, you’ll need to toggle the Published slider.

You can make your mini app available to others through a direct link (in the Access tab), or you can embed the mini app into an LMS via LTI.


